Brickell Penthouse Microcement Flooring
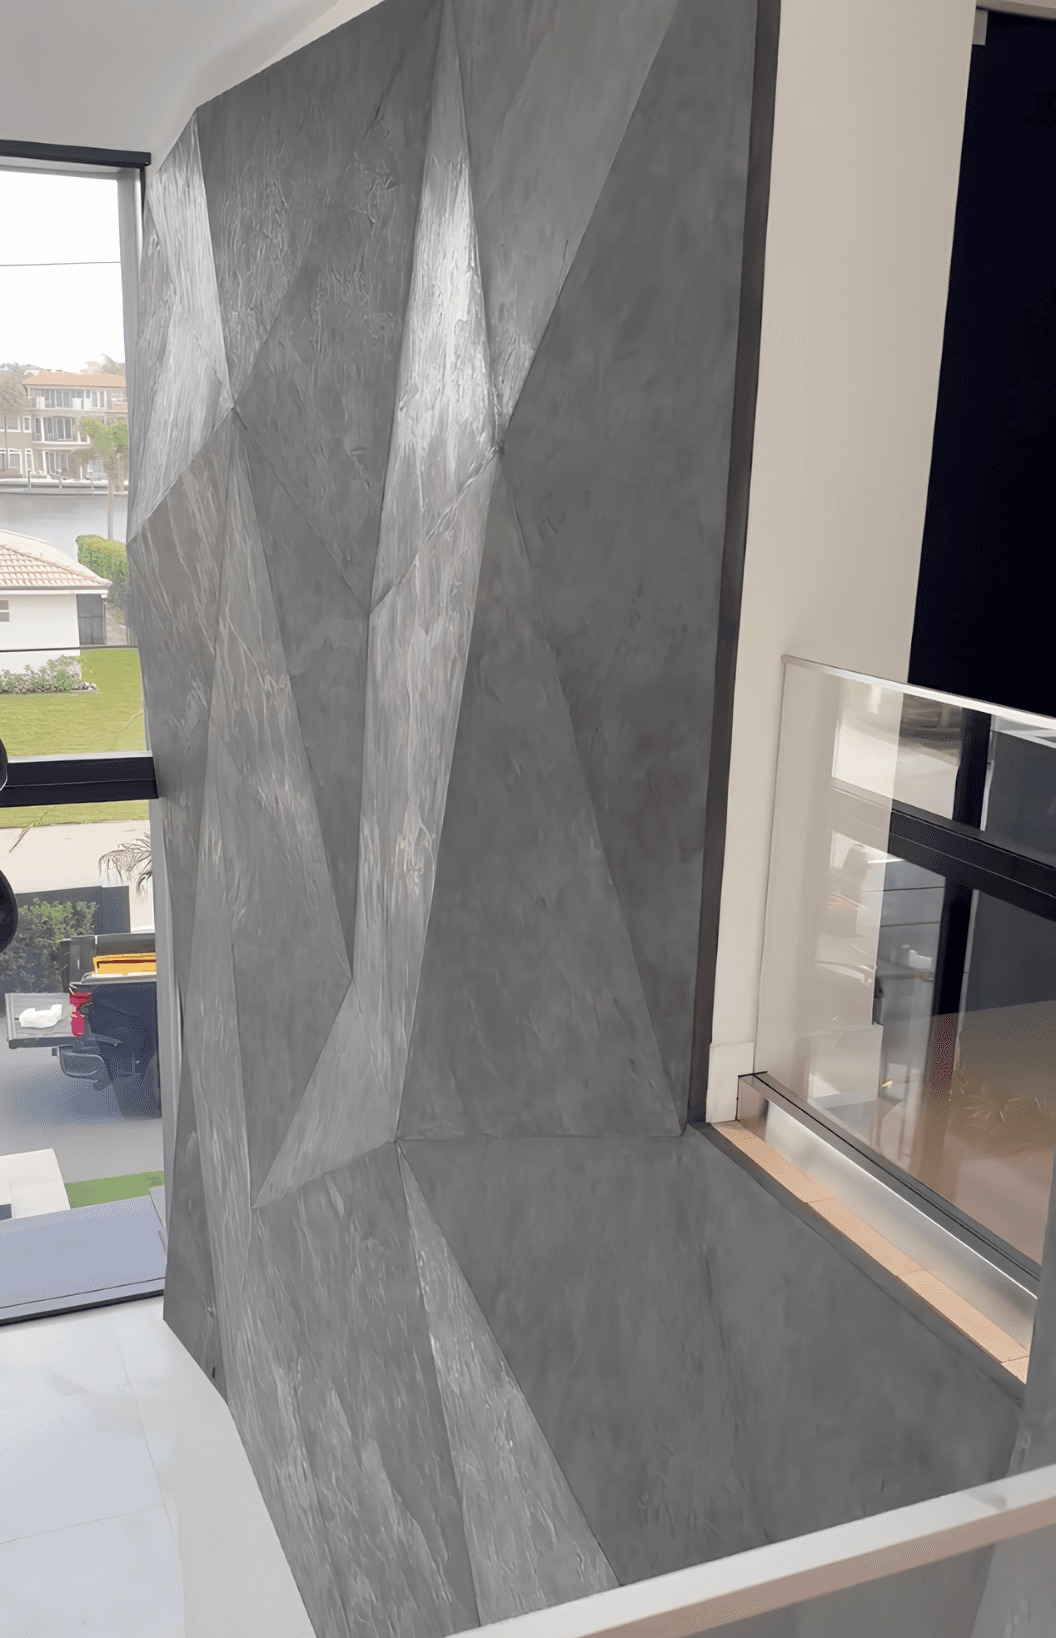
A seamless microcement flooring installation in a Brickell penthouse — designed to deliver a continuous, grout-free surface throughout the main living area. This project demonstrates the versatility of microcement in high-rise residential applications.
Published September 12, 2026 · By Gian Carlo Sagasti
The Challenge
The penthouse had recently been renovated but the flooring was still the original tile installed by the developer — a dated beige porcelain with visible grout lines. The homeowner wanted a completely seamless surface that would unify the open-plan living, dining, and kitchen areas without the visual interruptions of grout lines.
Given the penthouse is on the 42nd floor, full demolition and replacement of the tile was not practical. The homeowner needed a solution that could be applied over the existing tile without removal — saving time, cost, and disruption to neighbors in the building.
The Solution
We proposed microcement flooring applied directly over the existing tile. Microcement bonds to most substrates and can be applied thin enough (2–3mm) not to interfere with doors, cabinetry, or HVAC transitions.
The color was a warm grey with subtle earthy undertones — chosen to complement the penthouse’s neutral palette and expansive views. The finish was sealed with a waterproof topcoat and a satin sheen.
The Process
Day 1 — Surface Preparation. The existing tile was cleaned, degreased, and slightly etched to create a bonding profile. Grout lines were filled and leveled. Fiber mesh was applied in high-traffic areas for reinforcement.
Day 2 — Bonding Primer. A bonding primer was applied and allowed to cure.
Days 3–4 — Base Coats. Two base coats of microcement were applied, each troweled thinly and allowed to cure.
Days 5–6 — Finish Coats. Two finish coats of pigmented microcement were applied and sanded between coats to achieve a smooth, seamless surface.
Day 7 — Sealing and Inspection. A waterproof sealer and a protective topcoat were applied. The finish was reviewed with the homeowner under natural light.
The Result
The flooring was completely transformed. The former tile floor — with all its grout lines and color inconsistencies — was replaced with a seamless, monolithic surface that flows from the entryway through the living room, dining room, and kitchen.
The homeowner specifically appreciated that no demolition was required — saving weeks of disruption and thousands of dollars in tile removal costs.
Two years later, the floor remains in excellent condition with no cracking, no delamination, and no visible wear.
Project Details
| Detail | Value |
|---|---|
| Location | Brickell, Miami, FL |
| Type | Penthouse (high-rise) |
| Finish | Microcement (warm grey) |
| Surface | Main living area, dining room, kitchen (approximately 1,400 sq ft) |
| Sheen | Satin |
| Sealer | Waterproof sealer + protective topcoat |
| Timeline | 7 days |
| Completed | 2023 |
Frequently Asked Questions
Can microcement really be applied over tile?
Yes — as long as the tile is sound, properly prepared, and the surface is leveled. Microcement bonds well to ceramic and porcelain tile.
Does the microcement add height to the floor?
Only 2–3mm. In most cases, this doesn’t interfere with doors or cabinetry.
Does the floor crack?
When properly installed over a stable substrate, microcement resists cracking. Movement joints may be needed in very large areas.
How do you clean microcement flooring?
Damp mop with mild soap. Avoid abrasive cleaners and scouring pads.
Is the floor slippery?
The satin sheen provides adequate traction for residential use. For bathrooms or kitchens, we add anti-slip additives.
Commission Your Microcement Flooring Project in Miami
Interested in a seamless microcement floor for your home? We’d love to hear about your project.
Call: (305) 801-2581
Email: venetianman@live.com
Studio: 8900 SW 117 Ave, Suite C208, Miami, FL 33186
Service area: Miami-Dade, Broward, and Palm Beach counties